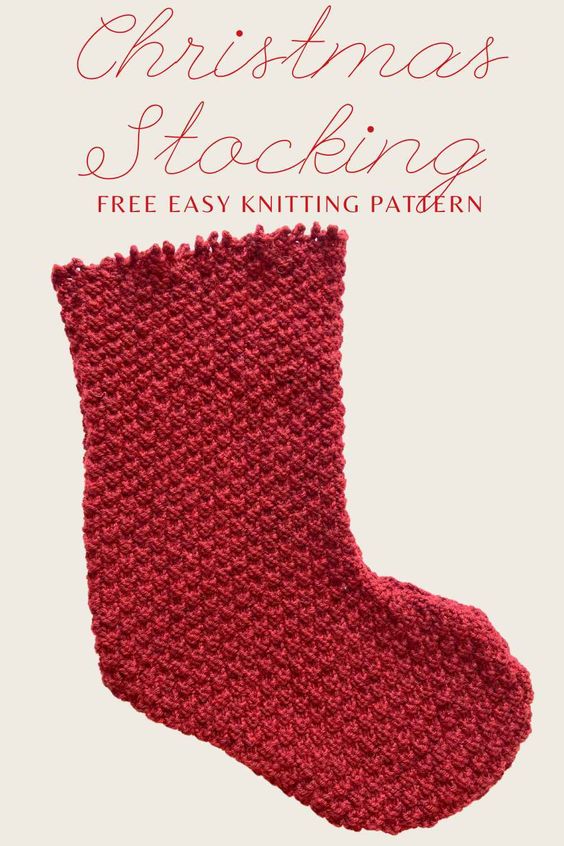
Knitted Christmas Stockings
Knitted Christmas stockings are a delightful tradition during the holiday season. These charming socks bring warmth and coziness to any home, adding a touch of handmade love to the festive decor. Whether passed down through generations or crafted anew each year, these stockings hold a special place in the hearts of many. The intricate patterns, vibrant colors, and personal touch of knitted stockings make them a cherished part of Christmas celebrations. Hanging by the fireplace or the foot of the bed, these stockings evoke feelings of nostalgia and holiday cheer. Handmade with care, they are not just a decoration but a symbol of family, tradition, and the spirit of giving.
Supplies needed:
For this project, I suggest DK weight yarn and 3.75 mm needles. This gave me a stocking that measures 15″ tall, 6.5″ wide at the stocking top, and 10″ at the toe of the stocking.
If you’d prefer to use a thicker yarn for this project, I have also achieved beautiful results making this stocking with worsted weight yarn and a slightly larger needle size (4 mm). This will give you a slightly larger stocking, about 1″ taller/wider in all directions. Whatever you decide on, it won’t make much of a difference when hanging by the Christmas tree!
Some of my favorite yarn is from Knit Picks, so that’s where I purchased my yarn for this project. The red yarn seen in the photos is “Garnet Heather Swish DK.” The green yarn seen is “Forest Heather, Wool of the Andes Worsted.” Again, both yarns can be found on the Knit Picks website!
Since this stocking is worked as two panels that are then sewn together, you’ll also want a tapestry needle for this project.
For the hanging loop, you may either want a small amount of ribbon to tie onto the top of your stocking, or you can cast on a short row of knit stitches, knit a row or two, then cast off those stitches and use that as your hanging loop. I didn’t provide and exact pattern for this portion as it should be pretty self explanatory.
Now, let’s get started on making your very own stocking! The written pattern is found below. Happy knitting!
Stocking
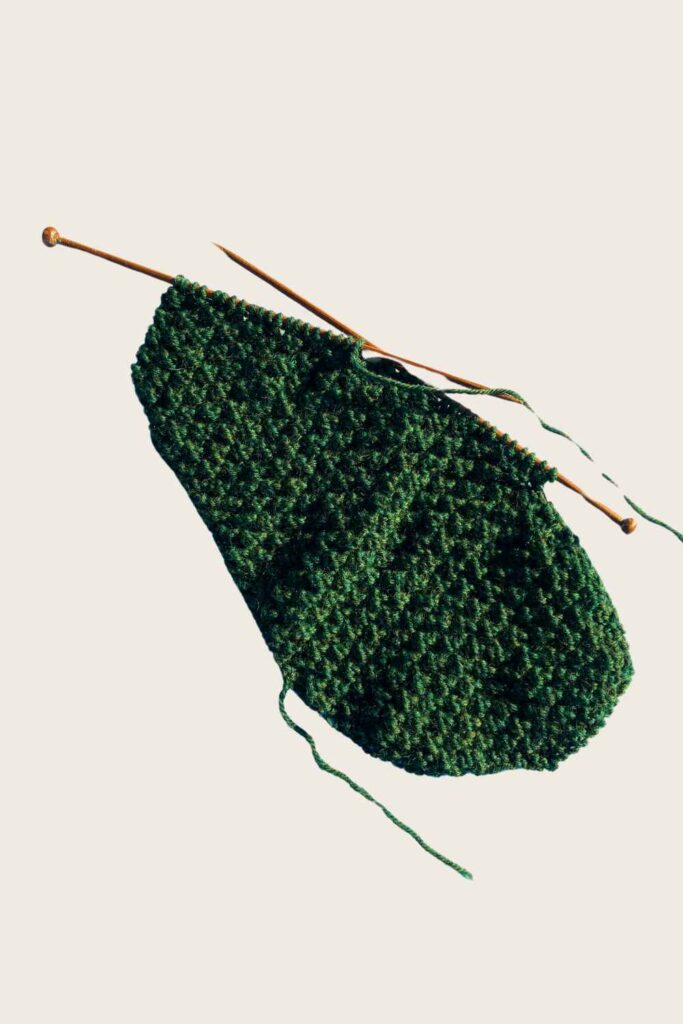
With 3.75mm straight knitting needles DK weight (weight 3) yarn, cast on 18 stitches. (see above for suggestions if using worsted-weight yarn)
Row 1: Purl 2, (Knit 2, Purl 2) to end.
Row 2: KFB, Knit 1, (Purl 2, Knit 2) three times, Purl 2, Knit 1, KFB (20 stitches)
Row 3: Purl 1, (Knit 2, Purl 2) four times, Knit 2, Purl 1
Row 4: KFB, (Purl 2, Knit 2) four times, Purl 2, KFB (22 stitches)
Row 5: (Knit 2, Purl 2) five times, Knit 1, KFB (23 stitches)
Row 6: KFB, (Purl 2, Knit 2) five times, Purl 1, KFB (25 stitches)
Row 7: KFB, (Purl 2, Knit 2) five times, Purl 2, Knit 1, KFB (27 stitches)
Row 8: KFB, (Purl 2, Knit 2) six times, Purl 2 (28 stitches)
Row 9: KFB, Purl 1, (Knit 2, Purl 2) six times, Knit 1, KFB (30 stitches)
Row 10: KFB, (Purl 2, Knit 2) seven times, Purl 1 (31 stitches)
Row 11: KFB, (Knit 2, Purl 2) seven times, Knit 1, KFB (33 stitches)
Row 12: KFB, (Purl 2, Knit 2) seven times, Purl 2, Knit 1, KFB (35 stitches)
Row 13: KFB, (Knit 2, Purl 2) eight times, Knit 1, KFB (37 stitches)
Row 14: KFB, (Purl 2, Knit 2) eight times, Purl 2, Knit 1, KFB (39 stitches)
Row 15: Purl 1, (Knit 2, Purl 2) nine times, Knit 2
Row 16: KFB, Purl 1, (Knit 2, Purl 2) nine times, Knit 1 (40 stitches)
Row 17: Knit 1, (Purl 2, Knit 2) nine times, Purl 2, KFB (41 stitches)
Row 18: Purl 2, (Knit 2, Purl 2) nine times, Knit 2, Purl 1
Row 19: Purl 1, (Knit 2, Purl 2) nine times, Knit 2, Purl 1, KFB (42 stitches)
Row 20: KFB, (Knit 2, Purl 2) ten times, Knit 1 (43 stitches)
Row 21: Knit 1, (Purl 2, Knit 2) ten times, Purl 1, KFB (44 stitches)
Row 22: KFB, (Knit 2, Purl 2) ten times, Knit 2, Purl 1 (45 stitches)
Row 23: Purl 1, (Knit 2, Purl 2) ten times, Knit 2, Purl 1, KFB (46 stitches)
Row 24: KFB, (Knit 2, Purl 2) eleven times, Knit 1 (47 stitches)
Row 25: Knit 1, (Purl 2, Knit 2) eleven times, Purl 1, KFB (48 stitches)
Row 26: KFB, (Knit 2, Purl 2) eleven times, Knit 2, Purl 1 (49 stitches)
Row 27: Purl 1, (Knit 2, Purl 2) eleven times, Knit 2, Purl 1, KFB (50 stitches)
Row 28: KFB, (Knit 2, Purl 2) twelve times, Knit 1 (51 stitches)
Row 29: Knit 1, (Purl 2, Knit 2) twelve times, Purl 1, KFB (52 stitches)
Row 30: KFB, (Knit 2, Purl 2) twelve times, Knit 2, Purl 1 (53 stitches)
Row 31: Purl 1, (Knit 2, Purl 2) thirteen times
Row 32: (Knit 2, Purl 2) thirteen times, Knit 1
Row 33: Knit 1, (Purl 2, Knit 2) twelve times, Purl 2, Knit 1, KFB (54 stitches)
Row 34: Knit 1, (Purl 2, Knit 2) thirteen times, Purl 1
Row 35: Purl 1, (Knit 2, Purl 2) thirteen times, KFB (55 stitches)
Row 36: KFB, Purl 1, (Knit 2, Purl 2) twelve times, Knit 2, Purl 1, K2TOG (55 stitches)
Row 37: (Purl 2, Knit 2) thirteen times, Purl 2, Knit 1
Row 38: KFB, (Knit 2, Purl 2) thirteen times, K2TOG (55 stitches)
Row 39: Knit 1, (Purl 2, Knit 2) thirteen times, Purl 2
Row 40: (Knit 2, Purl 2) thirteen times, Knit 1, K2TOG (54 stitches)
Row 41: (Knit 2, Purl 2) thirteen times, Knit 2
Row 42: (Purl 2, Knit 2) thirteen times, K2TOG (53 stitches)
Row 43: Purl 1, (Knit 2, Purl 2) thirteen times
Row 44: (Knit 2, Purl 2) twelve times, Knit 2, Purl 1, K2TOG (52 stitches)
Row 45: (Purl 2, Knit 2) thirteen times
Row 46: (Purl 2, Knit 2) twelve times, Purl 2, K2TOG (51 stitches)
Row 47: K2TOG, Purl 1, (Knit 2, Purl 2) twelve times (50 stitches)
Row 48: (Knit 2, Purl 2) twelve times, K2TOG (49 stitches)
Row 49: K2TOG, K2TOG, Knit 1, (Purl 2, Knit 2) eleven times, (47 stitches)
Row 50: (Purl 2, Knit 2) ten times, Purl 2, Knit 1, K2TOG twice (45 stitches)
Row 51: K2TOG twice, Purl 1, (Knit 2, Purl 2) ten times (43 stitches)
Row 52: (Knit 2, Purl 2) nine times, Knit 2, Purl 1, K2TOG twice (41 stitches)
Row 53: K2TOG twice, Knit 1, (Purl 2, Knit 2) nine times (39 stitches)
Row 54: (Purl 2, Knit 2) nine times, Purl 1, K2TOG (38 stitches)
Body of the Stocking:
Place stitch markers, work in double seed stitch until 8″ tall from stitch markers to needles. (If using worsted weight yarn, work in double seed stitch until the stocking measures 9″ tall from your stitch markers to your needles.)
To cast off with a picot edging:
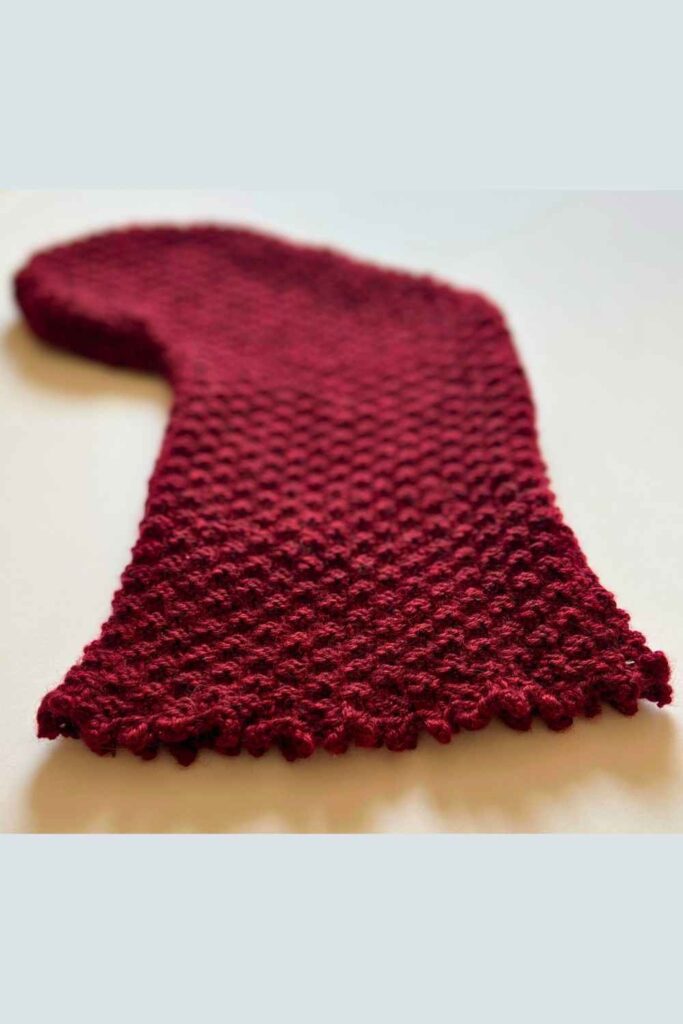
K2TOG, cast off 1 stitch, (slip 1 stitch from Right Hand Needle onto Left Hand Needle, Cast ON 2 stitches, Cast OFF 4 stitches) to end.
Break yarn and secure.
Finished Product:
To finish your stocking, you’ll need to make two “stocking panels.”
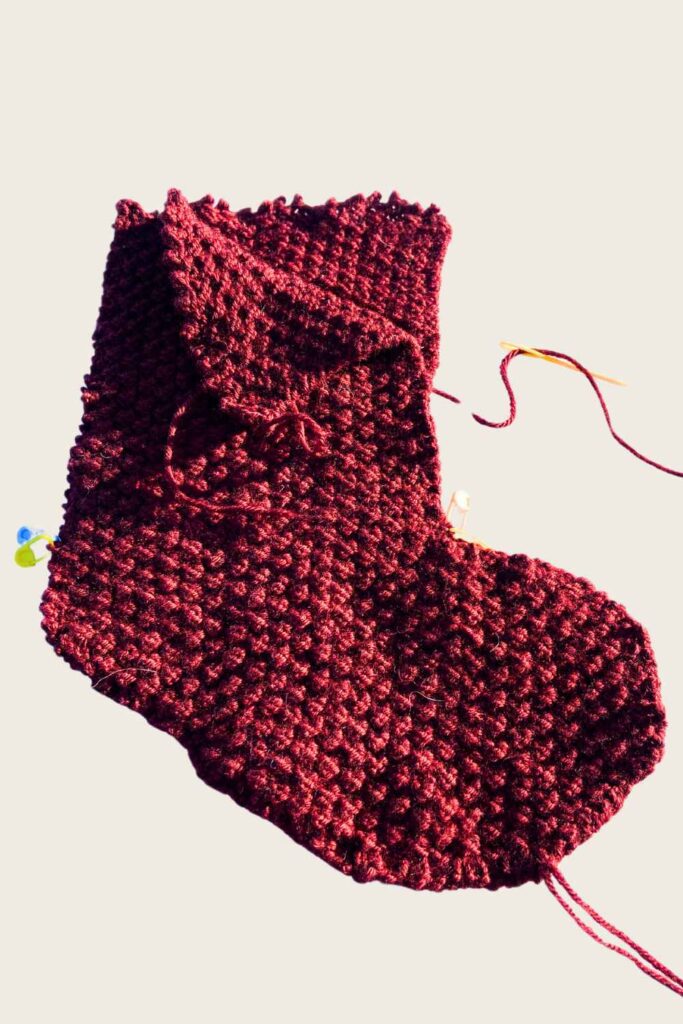
Then, take some of your remaining yarn and a tapestry needle an sew all around your stocking, leaving the opening at the top, of course!
There is no “right side” or “wrong side” to your stocking panels, so just line them up, sew them together, then turn your stocking right side out so that your stitches are hidden inside the stocking.
Don’t forget to hide any of your yarn tails inside your stocking (or weave them in as you would with any other knitting project!).
Make a loop at the corner of the top of the stocking to hang it up on your mantle. You can make your loop with ribbon, or by casting on a handful of stitches onto your needles, knitting a couple rows, cast off, then fold in half and sew to the corner of your stocking as a loop to hang it with. Either way is fine!