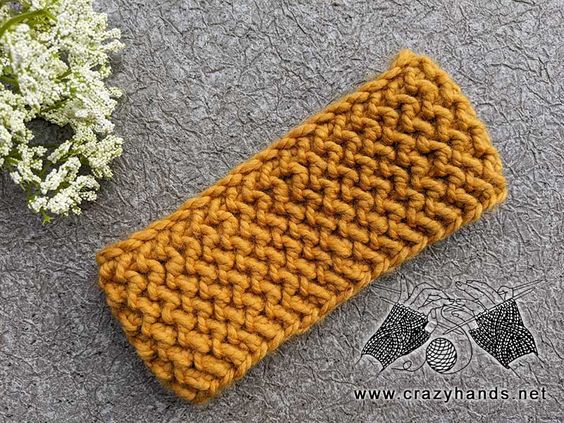
Knitted Super Bulky One Row Headband
The Knitted Super Bulky One Row Headband is a trendy and cozy accessory that is perfect for adding a touch of warmth and style to your winter outfits. This headband is not only quick and easy to knit, making it a fantastic project for beginners or anyone looking for a quick knitting fix, but it also provides excellent protection from chilly winds. The super bulky yarn used for this headband ensures a plush and soft feel that will keep your ears toasty warm all day long. With just one simple row, you can create a stylish headband that is versatile enough to complement various outfits, making it a must-have accessory for the colder months. So grab your knitting needles and some super bulky yarn, and get ready to whip up a fabulous Knitted Super Bulky One Row Headband that will keep you looking cool and feeling warm!
Knitting materials and tools:
<> Straight or DPN 8 mm (US11 / UK0)
<> Lion Brand, Wool-Ease Thick&Quick (6) – 80% acrylic, 20% wool.
<> Yarn needle.
Knit one-row headband size:
Gauge: 13 sts –10 cm (4 inches).
Head circumference: 53-58 cm
Width: 10 cm ( 4inches)
Length: 46-47 cm
Common abbreviations of knitting stitches:
k – knit
st(s) – stitch(es)
sel s – selvage stitch: always slip the first stitch knitwise, work to the last stitch, purl the last stitch
k2togb – knit next two stitches together through the back loop
One-row bulky headband knitting pattern:
Cast on 13 sts or any other odd number.
Row 1: sel s, k1, [insert the right-hand needle between the next two stitches, draw up a loop, k2togb] – repeat till the end, sel s. Do not forget to knit one stitch at the beginning of each row.
Continue working Row 1 until the headband measures 46-47 cm. Cast off all stitches. Trim the yarn, leaving a 30-40 cm tail. Thread the yarn needle and sew the two ends of the headband together: fold the headband so that the tail is coming from the back end. Insert the needle through the back loop of the front piece and then through the front loop of the back piece. Repeat this process until you reach the end. Cut the yarn and weave in the ends.